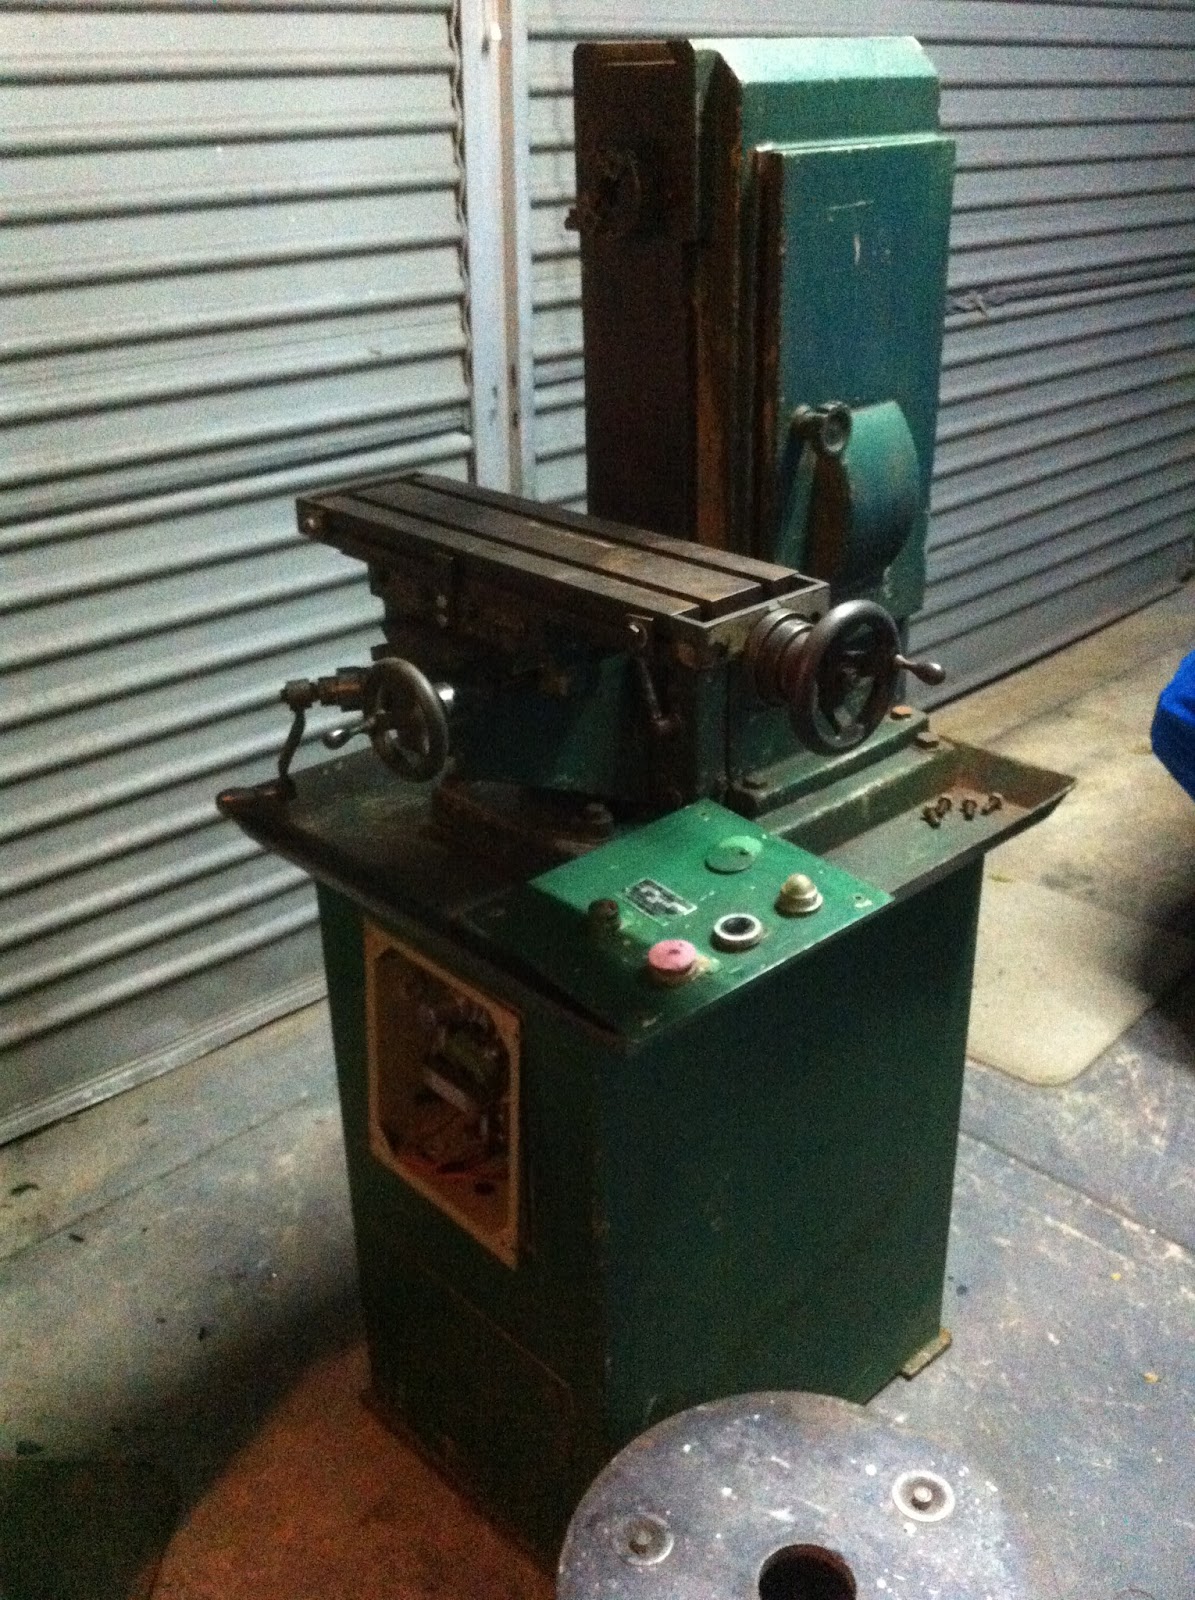
Hercus milling machine.
But I digress. I didn't want to buy one of the cheap little Chinese pedestal mills as the tubular upright is too flimsy for serious milling and having a machine that's just a vertical mill has it's limitations also.
The larger Chinese/ Taiwanese mills, with their dovetail columns, are better machines, but still limiting and quite expensive for what they are.
I didn't know Hercus made a small mill till I saw one on Ebay and decided to buy it. It was missing a couple of parts for horizontal milling ( the arbor and end support), but it was otherwise complete, if very ugly in it's fine paintbrush and leftover fence paint job:


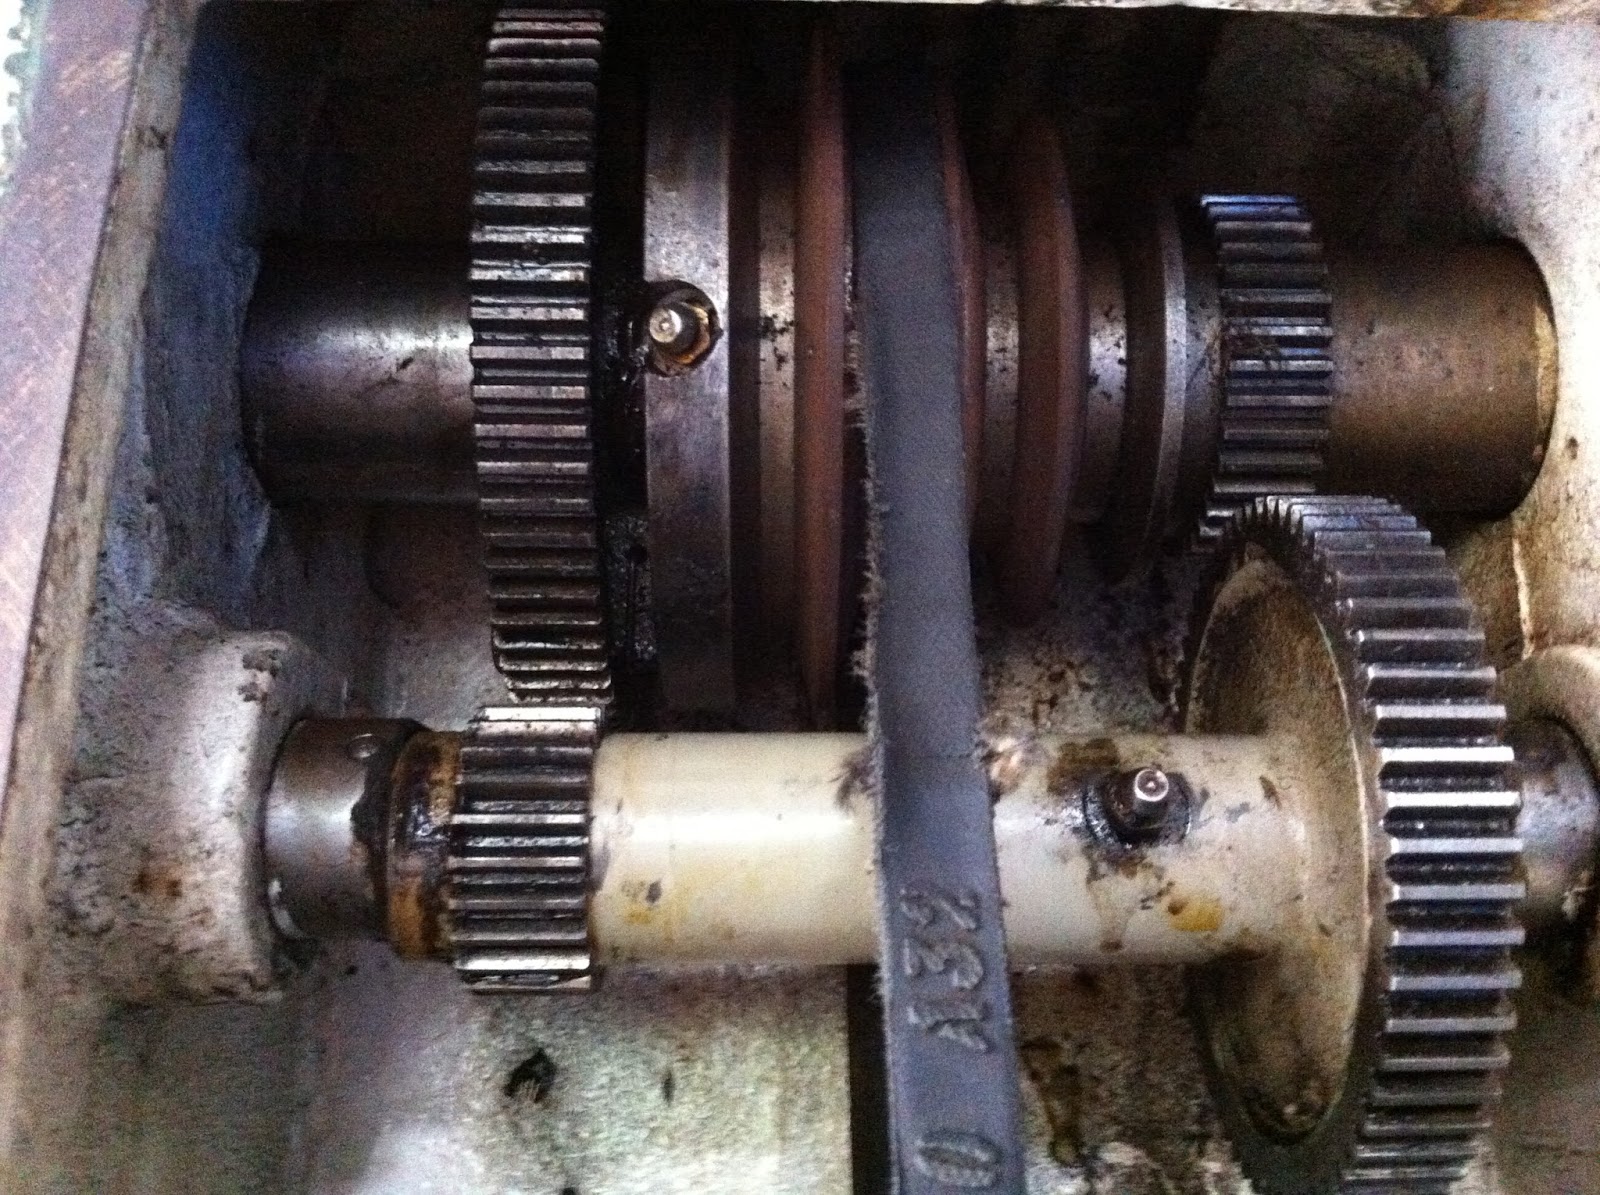
I found every oiling orifice, port and bearing chock full of very old, very dried grease and the spindle pulley was very tight on the spindle, fortunately it turned out, due to the grease acting as an adhesive, rather than it being seized on the shaft. The grease proved extremely troublesome to remove, I have an ultrasonic cleaner big enough to fit all the rotating parts in to and it has the added feature of being able to heat the cleaning fluid up. I used a caustic degreaser at 70c for two hours and it still took a lot of scraping to get all the grease out, then a soaking in petrol to get the last of it!
Tearing it down due to this stickiness proved time consuming, a fair bit of heat to the spindle pulley let the grease soften a bit and allowed the shaft to be driven out. Another reason I wanted the spindle out was to replace the drive belt, which had a nasty bit of wear in one area, obviously run with the pulley tension off, who knows why:


Here is the mill being stripped of paint:


Then onto topcoat. I mixed up some classic cream with some matt black enamel to come up with a light grey. I was trying for more of a dirty beige, but it ended up mostly grey. If you look at it in the sun, there is a very slight beige to it, but I like the colour well enough. It's better than bottle green anyway!
Then it was on to reassembly:


The bull gear is tricky to get onto the spindle shaft as you need to heat it, feed it on whilst following it with the spindle pulley and then feeding the whole lot into the rear bearing bore. It takes four hands and thick leather gloves to handle the hot bull gear.
Don't be like me and put the bull gear on backwards, then realise it and madly scramble around tapping the shaft back out before the bull gear cools and grabs the spindle!:

I learned a fair bit, which I will share here. Electric motors, having been around forever, are one of the few components that I've come across that are actually standardized, and standardized very well.
There are several motor "frame" sizes and those sizes also guarantee a few specifics about the motor, such as shaft height from mounting feet and shaft size.
Knowing this, and that the original motor was a "71" frame motor, I confidently ordered a 240v replacement of the same power rating. I considered going to a larger motor (which I could've in the 71 frame), but I am not sure how stout the mill internals are, I'd rather stall the motor than strip teeth off a gear!
I also discovered that electric motors (and I suspect they also share this with hydraulic motors) have a series of standardized mounting flanges. To save anyone hassle if hey buy this mill, the early Hercus mills use a "B5" mounting flange:

Here's the motor fitted. Because the original ASEA motor was 3 phase and had a massive phase controller/ transformer/ancient switch gear on the front panel, it did not need the external box that's on the single phase motor, which consists of a start and run capacitor, as it only runs on a single phase and needs the capacitor to get the windings initially out of time compared to the rotor to initiate rotation, then switches to another capacitor to maintain rotation at desired rpm. A 3 phase motor uses the three phases to achieve rotation. Anyway, the external box doesn't get in the way and as a bonus of using the mixer motor, it comes with a built in circuit breaker:


I will also make an arbor for the horizontal mill and also mill up an end support once the mill is fully operational, I think a good solid chunk of aluminium will be plenty stout enough for an end support on such a small machine, and will be pretty easy to mill out.
Comments
Post a Comment